If you’re new to tie-dye, you may be wondering how long to let it sit before rinsing it out. This is a question that many people have, and the answer can vary depending on the type of dye and the temperature. In this blog post, we will discuss how long to let tie dye sit before rinsing it out, as well as how to rinse your dyed items properly.

Love to tie dye? For the best, brightest colors, you need to know how long to let tie dye sit before rinsing it out. In this blog post, we’ll explain how long to let tie-dye set, and provide some tips for how to get the best results from your tie-dye project!
How long does tie-dye need to sit?
Here’s the simple answer.
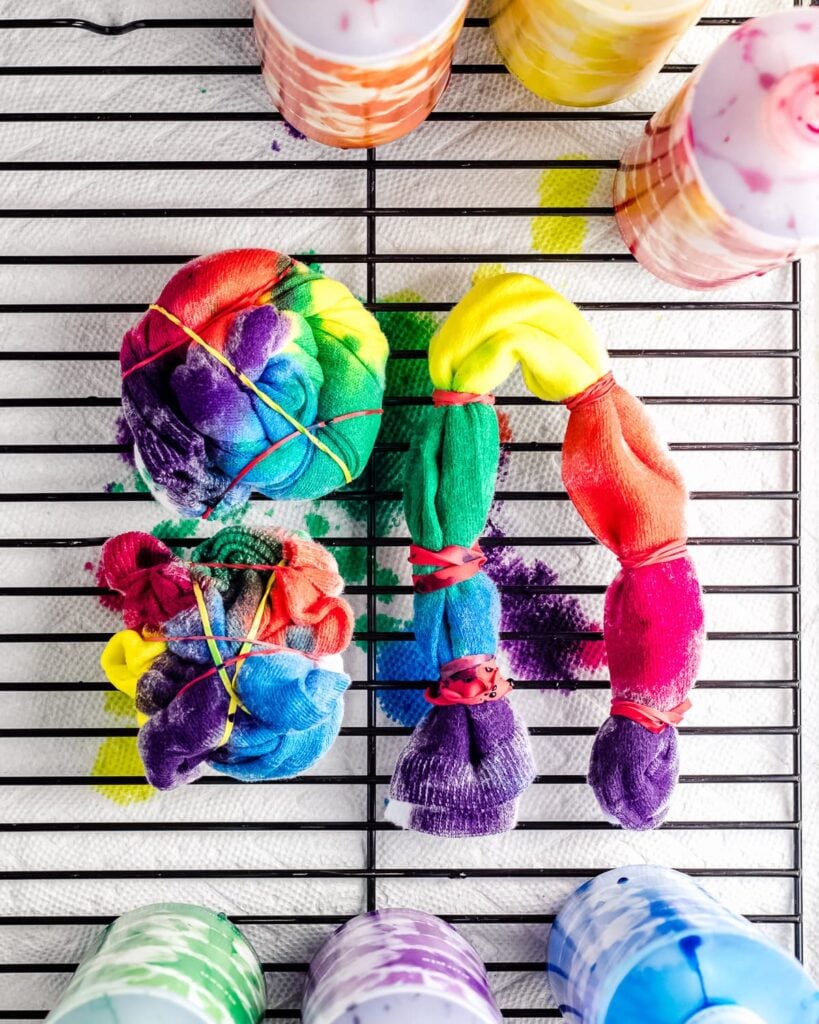
Tie-dye needs to sit for at least 8 hours, but ideally up to 24 hours, before rinsing. Keep the dyed items wet and in a warm place. And if you live in a dry climate, you should keep them wrapped in plastic to prevent them from drying out.
In general, it’s better to let the tie-dye set for 24 hours, or as long as possible. (Some artists prefer to let their items sit for two days or more!)
Giving the dye extra setting time ensures that all of the dye will have time to react. So when it comes time to rinse out the dye, all of the dye will have already reacted, and you won’t risk muddying your tie-dye patterns.

Other Things to Consider
Of course, there are other variables that will affect how long you should let the dye sit before rinsing it out. The exact amount of time required depends on the type of dye you’re using, as well as the temperature of the room.
Here are a few variables to consider when determining how long to let your tie-dye sit before rinsing.
Type of dye
First, consider the type of dye you are using. Some types of dye can be finished in as little as an hour, while some types of tie-dye should sit up to 24 hours.
Fiber reactive dyes, such as Procion MX dyes or the Tulip One-Step tie-dye kits, need to sit for 8-24 hours for the best results.
On the other hand, all-purpose dyes like Rit work best when you simmer the fabric in the dye bath for at least half an hour.
Not sure which type of dye to choose? If you want to do the cold-water, squirt-bottle type of tie-dying, you’ll want to use fiber-reactive dyes like Procion MX or Tulip One-Step tie-dyes.
The temperature
The temperature of the dye also impacts the amount of time it needs to set. If you keep the newly-dyed items warm, they take less time to set than if you keep them at a cooler temperature.
What about Polyester: If you want to tie-dye polyester or other synthetics, you’ll need to use a special type of dye and a high-heat technique.

How to Speed up the Process
You can speed up the tie-dye setting process by increasing the temperature of the dyed item.
For example, if you let the newly-dyed item process at a temperature of 90°F (35°C), you’ll be ready to rinse it out in as little as 2-3 hours.
On the other hand, if you let the newly-dyed item process at a cooler temperature of 60°F (15°C), you won’t be ready to rinse it out for 2-3 days.
So, if you want to speed up the tie-dye process, let the dyed items sit at a warmer temperature. Here are a few ways to do that
- Place the dyed items, wrapped in plastic, outside into the summer sun.
- Place the dyed items in plastic bags, and cover them with an electric blanket.
- Place the dyed items in a microwave-safe plastic container, and microwave them for 2 minutes, in short, 30-second bursts (more on this method below).
Whichever heating method you choose, it is essential not to let the tie-dyed items dry out. If the dye dries out, the dye reaction will stop. Some moisture must be present for the dye to react with the fabric.
Setting Tie Dye in the Microwave
If you really want to speed things up, you can even set tie-dye in the microwave.
First, give the dye at least an hour to fully penetrate the fabric. You don’t want to set the dye too soon before it has a chance to get into the center of the fabric.
After that, wrap the dyed item in plastic wrap or plastic bag, and place it in a microwave-safe container.
Keeping an eye on it the whole time, microwave in short 30 second bursts for a total time of 2-3 minutes. Use your best judgment, and stop the microwave if you see too much steam.
You want to heat the garment all the way through, but not dry it out. Let the garment cool, and then rinse it out as directed above.

Frequently Asked Questions
Here are some answers to your most commonly asked questions about setting tie-dye.
What’s the best type of dye to use?
The best type of tie-dye to use on cotton fabric is fiber reactive dye. If you use it correctly, fiber-reactive dyes are permanent and colorfast. You’ll get bright colors that won’t fade, even after repeated washings.
I recommend two types of fiber reactive dye: Procion MX dyes and the Tulip One-Step Tie-Dye kits.
Can tie-dye sit for too long?
Yes, it’s possible. If you let the fabric sit for too long, you run the risk of it drying out. And if there are uneven patches of dryness, you may get uneven patches of color.
How do I keep the dye from drying out while it sets?
To keep the fabric from drying out, you can place it in a plastic bag, or wrap it in plastic wrap.
Another way to percent the dye from drying out is to add a little urea (a humectant) to the dye solution.
For more information, read this guide to setting tie-dye for the best results.
How do I rinse out the dye?
To rinse out the excess dye, place the tie-dyed item in a utility sink, and rinse with cold running water. Start taking off the rubber bands, and keep rinsing under cold water until the water runs clear.
Flip the item over, wring out the fabric, and make sure that you’ve rinsed out the excess dye before washing in your washing machine.
How do I wash tie-dye for the first time?
Once you’ve rinsed out the excess dye, you can wash the item in the washing machine.
- Place the tie-dyed item in the washing machine by itself or with other tie-dyed items. I recommend washing similar colors together for the first few washes.
- Set the load size to small, and set the water temperature to hot.
- Add a small amount of Synthrapol or another dye-safe laundry detergent. Don’t add fabric softener.
- Run the wash cycle.
Wash tie-dyed items separately for the first few wash cycles, so the colors don’t get muddied. After that, you can wash and dry them with your regular laundry.
For more information, read this guide to washing tie-dye for the first time.
How do I keep the dye from washing out?
When you start rinsing, you’ll see some color coming out of your fabric. This is normal and to be expected. You’re seeing all the excess dye that hasn’t bonded to the material.
Most dyes need at least one long rinse in cool water (without detergent) followed by two washes in hot water (with detergent) to remove excess dye.
More Tie Dye Tutorials
If you like to tie-dye, you may be interested in the following articles:
- How to Ice Dye – Easy Tie Dying Tutorial
- How to Bleach Tie-Dye a Sweatshirt – Easy DIY
- 17+ Tie Dye Patterns and Folding Techniques
- How to Tie Dye a Spiral Pattern: A Step-by-Step Guide
What’s Next?
Pin this post: Save this tutorial to your Pinterest boards so that you can come back to it later.
Leave a comment: We love to hear your feedback. Tell me in the comments below!
Share on Instagram or Facebook: When you make this project, share it on social media and tag me @sarahmaker_. We love to see what you make!
Have questions? Join the Facebook Group!
We hope this article was useful for you! If you have any additional questions, feel free to join my Facebook Group. We created this group for you to share pictures, ask questions, and help each other out.


Similar Posts
How to Bleach Tie-Dye a Sweatshirt – Easy DIY
Can You Tie Dye Polyester? Read this First!
How To Get Tie Dye Off Your Hands: 7 Easy Ways
How to Tie Dye Socks: A Step-by-Step Guide
How to Use Soda Ash for Tie-Dye
How to Set Tie Dye So It Won’t Fade