

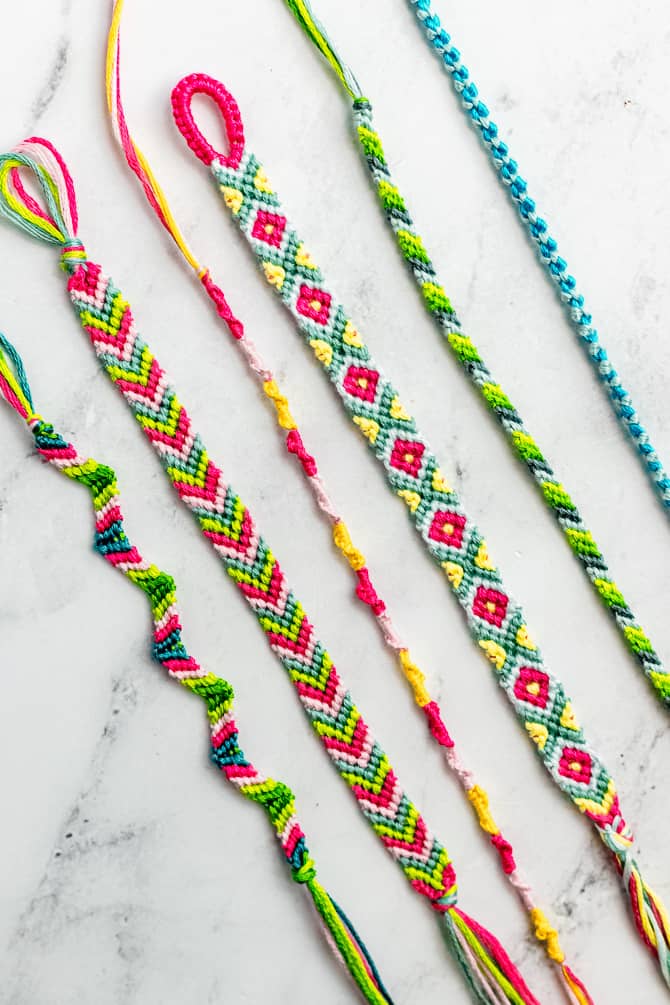
Friendship bracelets are that classic summer camp craft that you’ll want to make all year long! Whether you loved making them as a kid or are learning to make them for the first time, this easy DIY tutorial will teach you everything you need to know about making friendship bracelets.
DIY Friendship Bracelets
Making friendship bracelets is a fun DIY craft project because it’s easy to learn, easy to take with you anywhere, and easy to share with your friends. It’s definitely one of those “rites of passage” activities that we all do at sleepovers and summer camps. Plus, matching bracelets make great gifts for your best friends!
Once you learn the basic techniques, check out these easy friendship bracelet patterns. From simple braids to fancy diamond patterns, there’s no limit to the beautiful friendship bracelets you can create!
Gather Your Supplies
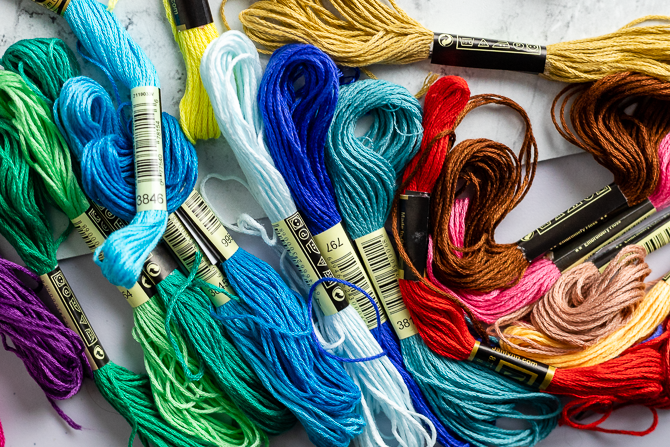
You don’t need a lot to get started making fun friendship bracelets. All you need is some embroidery floss, and something to hold your bracelet still while you make the knots. Here are our favorite tried-and-true supplies:
- embroidery floss or string
- clipboard, safety pin, or masking tape
- letter beads or charms (optional)
To make things easier on yourself, you could also pick up a convenient friendship bracelet kit.
Friendship Bracelets String
The best string for friendship bracelets is called embroidery floss. Embroidery floss is a smooth, 6-stranded cotton string with a slight shine. It comes in a huge variety of colors, including neons and metallics. Common brands of embroidery floss include DMC, Anchor, and J&P Coats.
Start with the 4 Basic Knots
Even the most sophisticated friendship bracelets are tied with the same simple knots.
There are four basic friendship bracelet knots that you need to learn. Once you learn the right knots, you’ll be able to make and design your own BFF bracelets with ease.
Each of the four knots is composed of two half knots – called half-hitches. The four basic friendship bracelet knots use two half-hitches stacked together in different combinations.
- Forward knot: forward hitch + forward hitch
- Backward knot: backward hitch + backward hitch
- Forward-Backward knot: forward hitch + backward hitch
- Backward-Forward knot: backward hitch + forward hitch
For a full explanation of the different types of friendship bracelet knots, with lots of diagrams and pictures, be sure to read How to Tie the 4 Basic Friendship Bracelet Knots.
Learn to Read Friendship Bracelet Patterns
Friendship bracelet makers have created pattern charts that you can follow to create beautiful designs. They may seem tricky at first, but once you understand how to read friendship bracelet patterns, you’ll definitely prefer them to written patterns.

Websites like friendship-bracelets.net and braceletbook.com have a seemingly endless supply of friendship bracelet patterns. Stripes, chevrons, hearts, arrows – whatever design you can think of, you can find!
Reading friendship bracelet patterns is easier than you think! Click to read my in-depth tutorial that will teach you how to read the friendship bracelet symbols and pattern grids.

Choosing Friendship Bracelet Colors
You can change up the look of a bracelet pattern by choosing different colors of thread or arranging them in a different color order. If you need some color palette inspiration, check out this article all about choosing the best color combos for your next friendship bracelet: Friendship Bracelet Color Ideas and Combinations
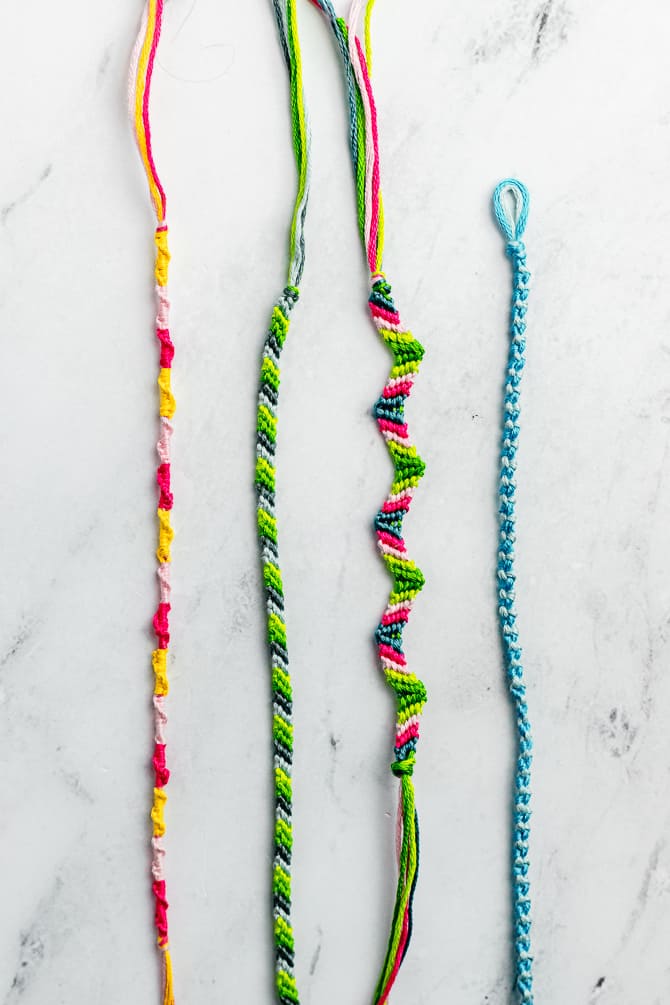
Beginner Friendship Bracelet Patterns
Here are some of the most common beginner patterns:
And when you’ve finished those, here are some more easy friendship bracelet patterns.
Candy Stripe Bracelet

For this pattern, you only need to know how to tie Forward knots.
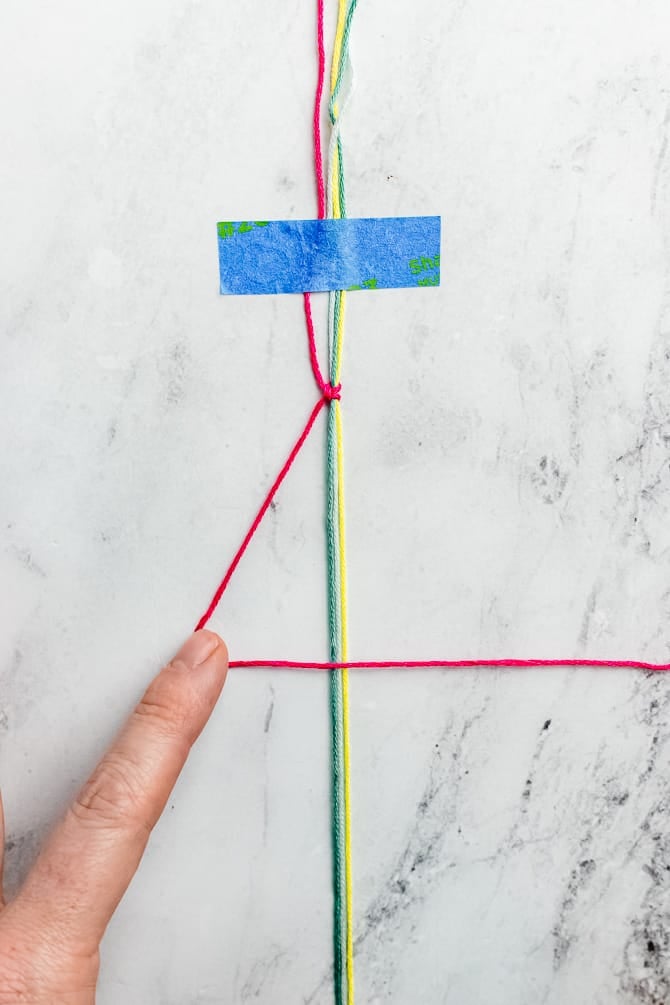
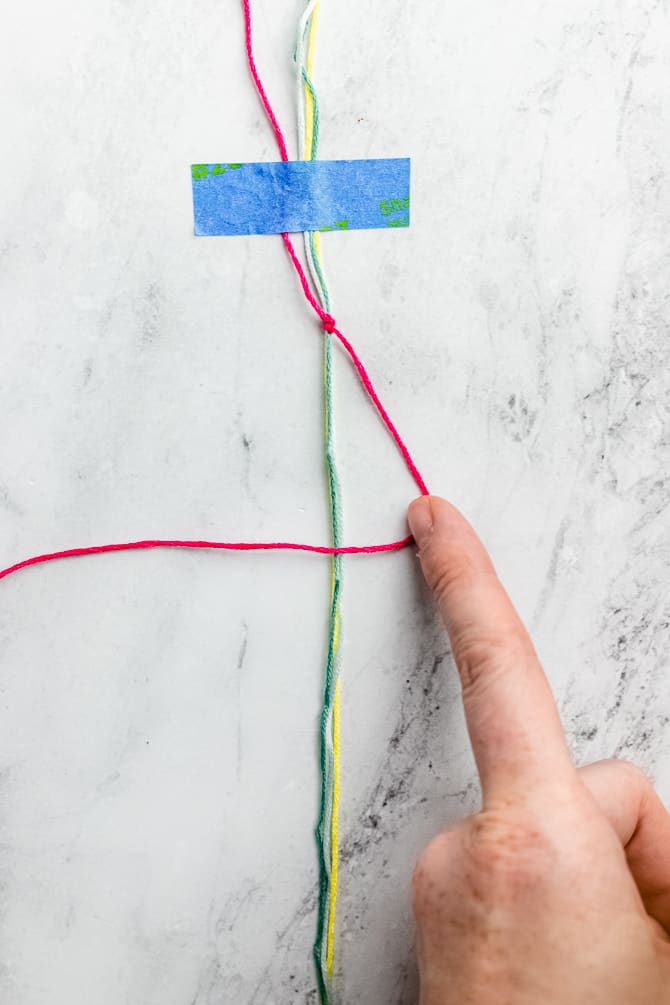
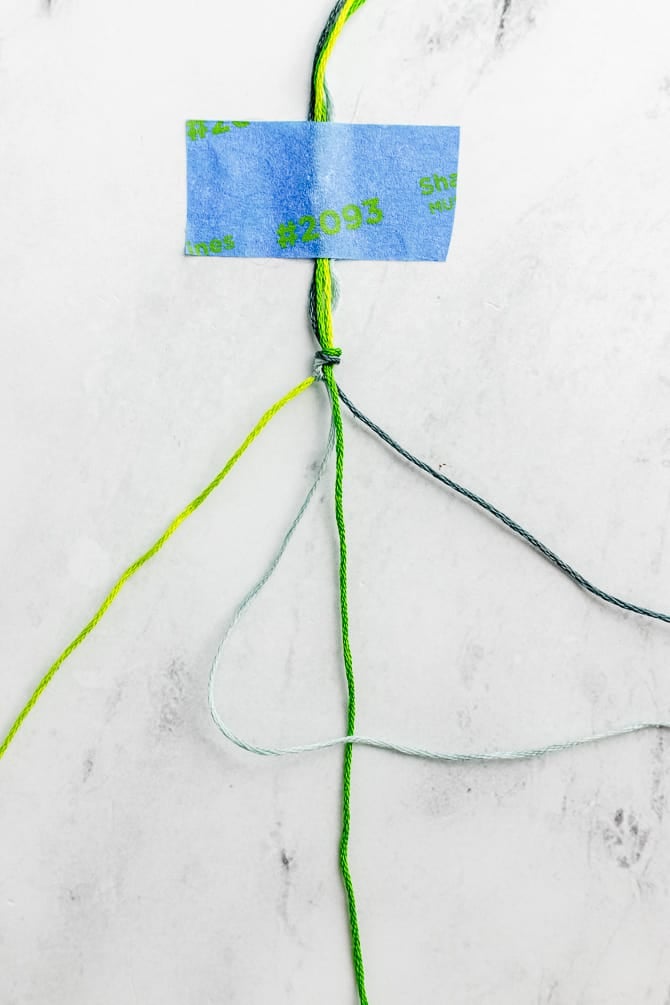
- Cut 4 strands of embroidery floss about 36″ long. Tie together with a simple overhand knot and secure to a flat surface with tape. Or, clip the end of the bracelet to a clipboard.
- Take the left-hand string (A) and make a forward knot onto the first strand, the second strand, and then the last strand of floss. The A string will now be on the right-hand side.
- Take the new left-hand string (B) and make a forward knot onto each of the next three strings.
- Repeat the process with each new left-hand strand (C, D, etc), working your way across the bracelet. Continue until you’ve reached your desired length. For most wrists, you’ll need 6 inches worth of bracelet. Make sure to leave enough space at the two ends so you can tie the bracelet on.
For a more detailed pattern with even more pictures, check out: How to Make a Candy Stripe Friendship Bracelet
Chevron Bracelet Pattern
For this pattern, you need to know both the Forward and Backward knots.
If it makes it easier to visualize, you can think of the chevron pattern as two back-to-back candy stripe bracelets.
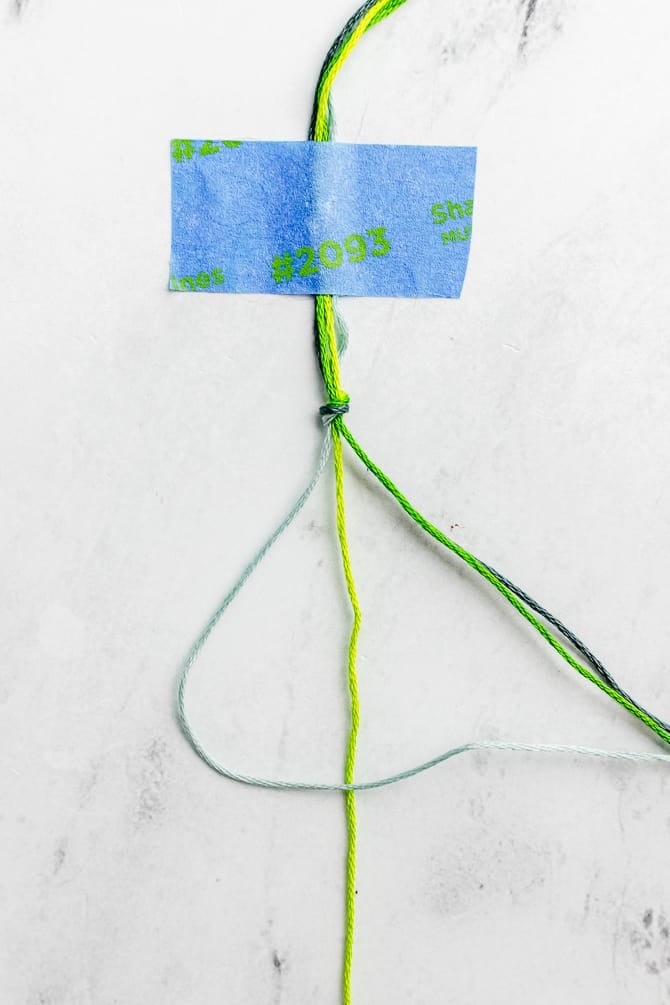
- Cut 72″ lengths of each of the four colors. Fold the strings in half and tie a knot on the folded end.
- Starting with the outermost left-hand string tie forward knots on the next three strings until you reach the middle.
- Using the outermost right-hand string, tie backward knots on the next three strings until you reach the middle.
- To finish the point at the center of the chevron’s “V” shape, use the left-hand string to tie a forward knot around the right-hand string.
- Continue making more rows by repeating the process with the other strings.
For a more detailed pattern, including more pictures and a pattern chart, check out: How to Make a Chevron Friendship Bracelet
Diamond and X’s Pattern
For the diamond pattern friendship bracelet, you need to know how to tie all 4 basic knots.
This bracelet starts out similar to the chevron friendship bracelet pattern.
- The first row and second row are the same as the chevron pattern. Each of the outer strings is tied in toward the center to make V shapes.
- Then the pattern is flipped to make an upside-down chevron shape. This creates the X and diamond shapes.
For a more detailed pattern, including pictures and a pattern chart, check out: How to Make a Diamond Friendship Bracelet Pattern

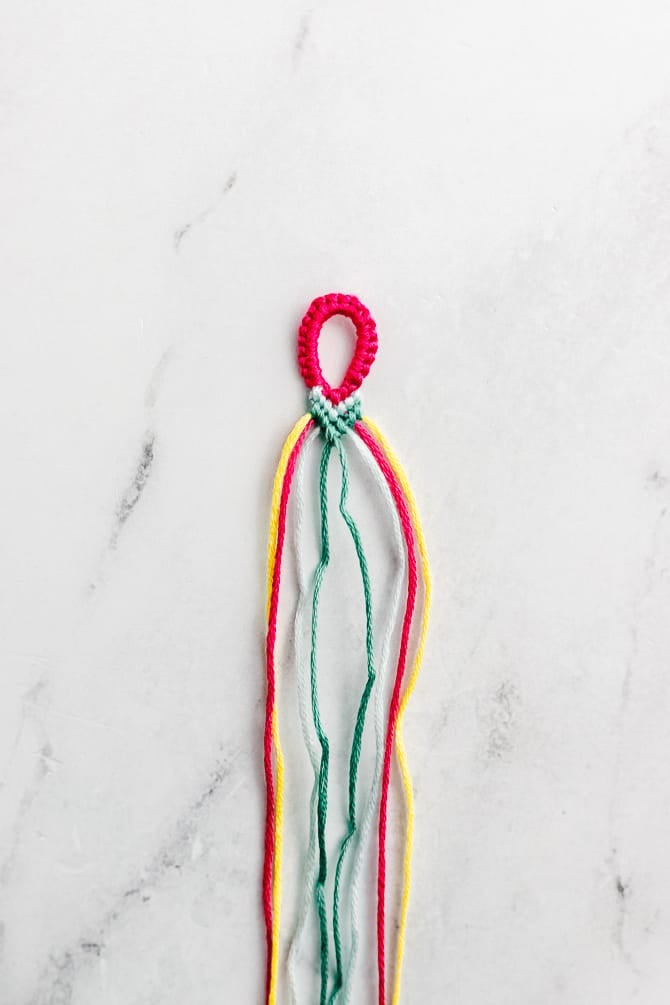
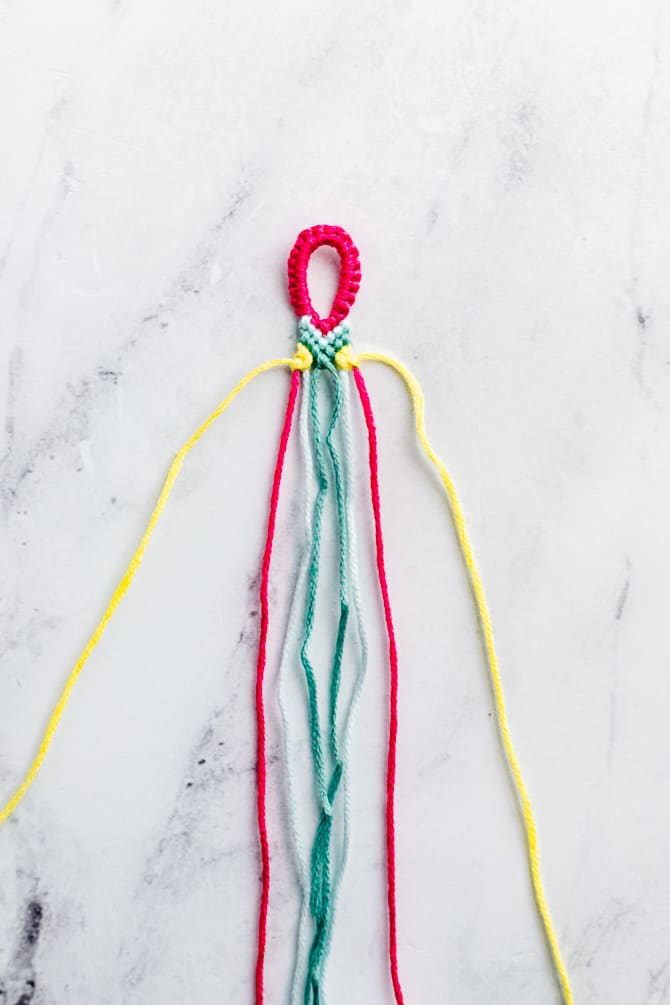
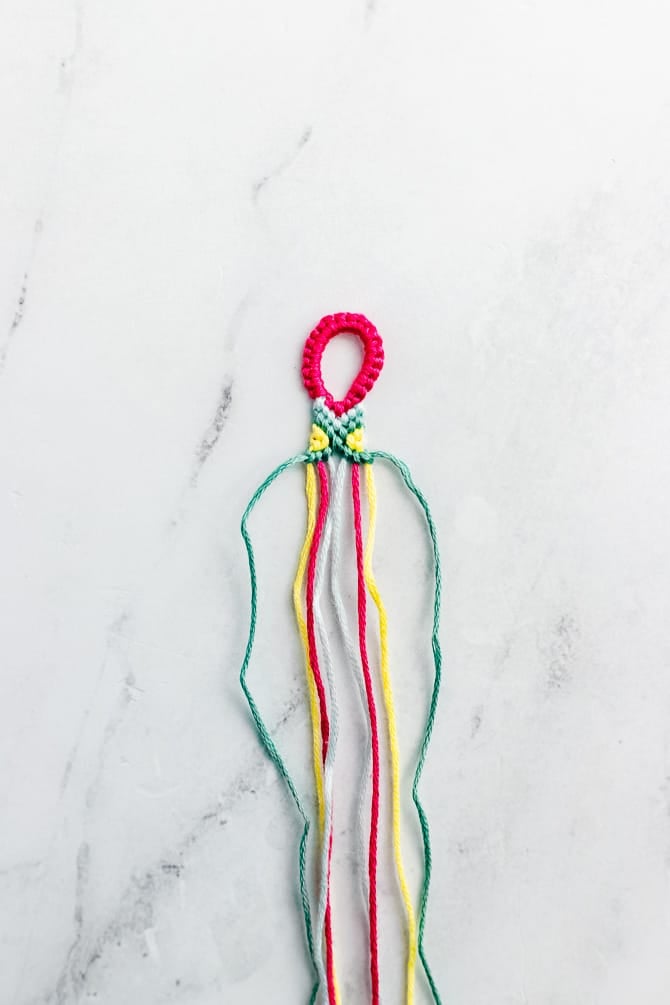
How to Start and Finish Friendship Bracelets
It’s perfectly fine to start and end bracelets with simple overhand knots. Tie the knots on each end, and leave about 4″ long tails.
But, there are a lot of other cool ways to start and end friendship bracelets, like buckles, teardrop loops, buttons, adjustable knots, and more.
If you are wondering how to begin your bracelet with a loop, be sure to read: How to Start and End Friendship Bracelets for A Finished Look
Common Questions about Bracelets
Here are some frequently asked questions (FAQs) about making friendship bracelets.
How long should the thread be for a friendship bracelet?
For most normal bracelet patterns, each thread should start about 36″ long. If you have two strands of each color, you can start with a string that’s 72″ long and fold it in half to make two halves that measure 36″.
If you have a pattern where one color is used much more than other colors, then that string should be cut longer.
What to do if you run out of string?
If you run out of string in the middle of a bracelet, you can attach more string.
Tie the extension string onto the short string with a square knot. For extra insurance, you can dab a dot of superglue onto the knot. It is okay to have the end pieces sticking out.
Continue on with the pattern. Keep the loose ends on the backside of your work. When you are done with your bracelet, you can glue them down with more super glue, or snip them off.
Why does my bracelet have holes?
When you first start making bracelets, it can be tricky to get the perfect tension.
If your tension is too loose, your bracelet can have holes in between the knots. (On the other hand, if your tension is too tight, the knots can flip to the wrong color!)
When you’re tying knots, try to snug up the new knot directly next to the previous row. In this case, practice does really make perfect.
Why is my bracelet curling up?
There are a couple of things that could be happening when your bracelet is curling up. First, make sure you are making TWO half-hitches to make each of the knots. If you forget this, the bracelet might curl up.
Or, it could be that your tension is too tight. You can try making the knots a little bit looser.
And, it’s important to remember that certain patterns, like the Candy Stripe pattern, are more prone to curling.
How do you flatten curled friendship bracelets?
One way to straighten friendship bracelets is to block them with water. Get your bracelet slightly wet, place it in between paper towels, and let it dry under a heavy book.
You can also try ironing the bracelet using a clothing iron or a hair straightener. Before you try this, make sure that the embroidery floss you are using is 100% cotton!
More Bracelet-Making Ideas
If you love making DIY jewelry, you may be interested in these related posts:
- How to Make Stretchy Beaded Bracelets with Elastic Cord
- 19 Easy Friendship Bracelet Patterns for Beginners
- Clay Bead Bracelet Ideas and DIY Tutorial
- How to Make a Diamond Friendship Bracelet Pattern
What’s Next?
Pin this post: Save this tutorial to your Pinterest boards so that you can come back to it later.
Leave a comment: We love to hear your feedback. Tell me in the comments below!
Share on Instagram or Facebook: When you make this project, share it on social media and tag me @sarahmaker_. We love to see what you make!


Similar Posts
How to Start and End Friendship Bracelets for A Finished Look
How to Make a Chevron Friendship Bracelet
How to Start A Friendship Bracelet with a Loop (Buckle)
19 Easy Friendship Bracelet Patterns for Beginners
How to Make a Diamond Friendship Bracelet Pattern
How to Read Friendship Bracelet Patterns