If you’re new to polymer clay, you might be wondering how to bake it for the best results. In this blog post, we’ll teach you the right way to bake polymer clay. Then, we’ll give you some tips and techniques so that your projects turn out looking great. We’ll also answer some frequently asked questions about baking polymer clay. Read on to learn more.

How to Bake Polymer Clay
Baking polymer clay in an oven is not as foolproof as it sounds. The right temperature, the right amount of time – all these details matter when baking polymer clay.
If you’ve got questions about the best way to bake polymer clay, you’re in the right place. In this step-by-step tutorial, I’ll walk you through every detail of how to bake polymer clay for perfect results every time.
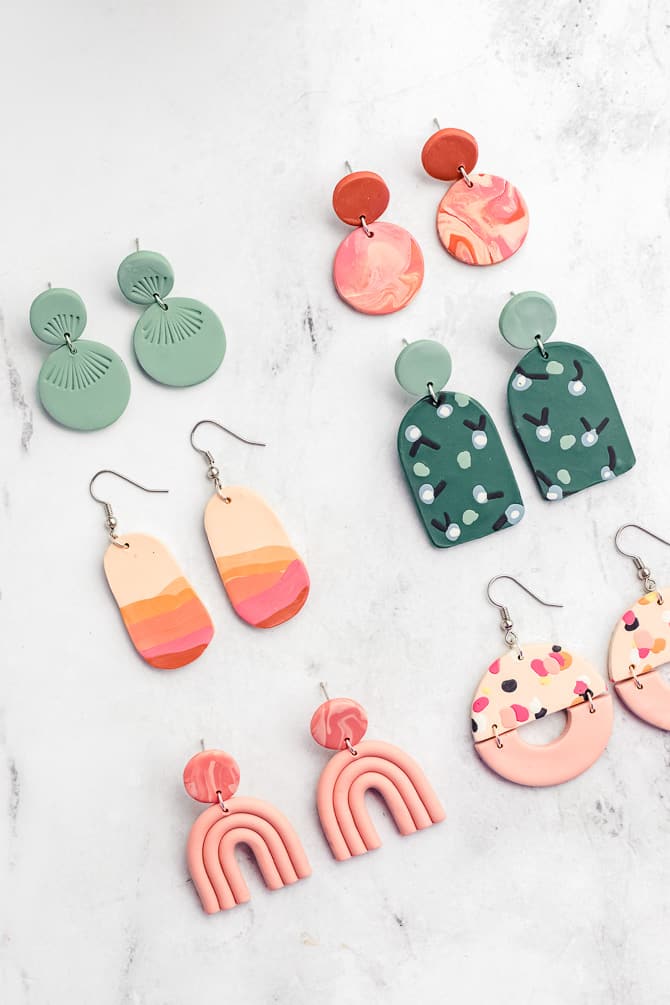
I’ll share my tips and tricks to ensure that your polymer clay creations come out perfect every time! And, I’ve included detailed instructions on what temperature and how long to bake all types of polymer clay projects, including clay earrings.
The Best Way to Bake Polymer Clay
The best way to bake polymer clay is to use an oven. You can use your regular home oven – it’s perfectly safe. You don’t need to buy a dedicated clay oven or kiln.
If you don’t have a regular home oven, you can use a toaster oven. If you want to use a toaster oven, choose a model that can hold a steady, accurate temperature — we’ll talk about this more below.
Next, gather your materials and tools. You will need a baking sheet, some aluminum foil, a sheet of parchment paper, and an oven thermometer. And, of course, you will need your clay project.
Step 1: Read the package direction to find out what temperature and time your brand recommends. Place the oven thermometer onto the center rack of the oven, and preheat your oven to the correct temperature.
Step 2: When the oven has finished preheating, check your oven temperature on the oven thermometer. All ovens are different, and most are not 100% accurate, so it’s a good idea to test the temperature before baking. If you find your oven is too hot or too cold, adjust the temperature. Wait again for the oven to preheat.
Step 3: Prepare your project for baking. Line a flat baking sheet with parchment paper. Carefully place your project onto the parchment paper. Cover the clay with a tented piece of aluminum foil (or cover it with an upside-down baking pan).
Step 4: Bake your clay at the recommended temperature for at least the recommended amount of time. In general, you can bake polymer clay at 275F for about 30 minutes per 1/4 inch of thickness.
That said, always refer to the package instructions for brand-specific directions. (Here are some of my favorite brands of polymer clay.)
#1 Tip: Don’t underbake.
I know that a lot of people are afraid of baking their projects for too long because they don’t want to burn their clay. But, let me reassure you: if you are using the correct temperature (verified by an oven thermometer), you won’t have any problems with burned clay.

More Tips about Baking Polymer Clay
Now that we’ve covered the best way to bake polymer clay, let’s talk about some of the specific questions people have about baking polymer clay.
Types of Ovens
How to bake polymer clay in a regular oven
To bake polymer clay in a regular home oven, follow the direction outlined above.
One of the best things you can do to ensure good results is to test your oven temperature with an oven thermometer. Oven thermometers like this one are inexpensive and widely available.
You need to test your oven temperature because most ovens run either too hot or too cold. If you bake at too hot a temperature, your project could get discolored or burned. If you bake at too low a temperature, your project will never fully cure.
How to bake polymer clay in a convection oven
You can also use a convection oven for baking polymer clay. Convection ovens are particularly nice because they have a fan inside that circulates the heat and prevents “hot spots.” That will help your polymer clay project to bake evenly without discoloring.
The process of baking with a convection oven will be almost the same as using a standard oven.
- Preheat the oven to 275 degrees Fahrenheit.
- Check your oven temperature with an oven thermometer, and adjust the temperature as needed.
- Line the flat baking sheet with a piece of parchment paper, and place the project on top.
- Here, I would typically tell you to tent the project with a folded piece of aluminum foil – but this might get blown around by the fan. So instead, use an upside-down baking pan to cover your project.
How to bake polymer clay without an oven
If you don’t have access to an oven, you can bake polymer clay with a toaster oven.
Baking polymer clay in a toaster oven
Using a toaster oven to bake polymer clay can be trickier than using a regular oven. Depending on your toaster oven’s size, age, and model, it might not hold a consistent, accurate temperature. Also, because of the smaller size, the clay project may be too close to the heating elements, leading to scorching.
So, if you are using a toaster oven, be extra careful with the temperature. And, be sure to cover your clay pieces with foil or an upside-down baking pan.

Can you bake polymer clay in a microwave?
No, do not try to microwave polymer clay. Microwave ovens don’t create the right kind of heating environment for curing polymer clay. Microwaving your project will only lead to burned clay and disappointment.
Can you bake polymer clay in an air fryer?
I suppose since an air fryer is, essentially, a small convection oven, it might be possible to bake polymer clay in an air fryer. That said, you would need to do a lot of testing to ensure that your specific model can maintain an accurate, consistent temperature to cure the clay without scorching.
In general, I’d avoid it.
Types of Baking Surfaces
You can bake clay on a variety of surfaces, including foil and paper.
Baking polymer clay on aluminum foil
The only problem with baking clay on aluminum foil is that the shiny surface of the foil can leave shiny spots on the underside of your project. If this is not a problem for you, foil is acceptable to use.
Baking polymer clay on parchment paper
If you want to prevent shiny spots on the underside of your project, put your project on a parchment-lined baking pan.
Best Temperature to Bake Polymer Clay
What temperature do you bake polymer clay?
It is essential to bake your polymer clay projects at the recommended temperature for at least the recommended length of time for the best results. You need to bake your project hot enough and long enough to ensure a complete cure.
In most cases, you can bake polymer clay at 275F for about 30 minutes per 1/4 inch of thickness.
That said, always check your package instructions for the most accurate information – since all brands are different.
Important: Don’t underbake your clay. Underbaked clay will lead to brittle pieces that break easily.
How Long to Bake Polymer Clay
In general, bake polymer clay for a minimum of 20 minutes per 1/4 inch of thickness measured at the thickest spot.
That said, some polymer clay artists recommend baking polymer clay for longer than the package recommends. As long as the clay stays at the correct temperature, you can bake the clay for as long as you need.
The goal is to bake the clay long enough and hot enough to cure it completely.
Can you bake polymer clay more than once?
Yes, you can bake a piece more than once. You can bake a piece of clay as many times as you need to get a complete cure.
So, if you’ve accidentally underbaked your clay, you can bake it again.
How do you know when polymer clay is done baking?
The polymer clay will be somewhat soft when you first remove it from the oven. It won’t reach its final “hardness” until it’s completely cool.
Properly baked polymer clay will be somewhat flexible after baking. Thin pieces will be able to bend and flex – though you may not be able to bend thicker pieces.
But, if your project breaks, snaps, shatters, or otherwise crumbles when you try to bend it, the clay is not properly baked.

Polymer Clay Baking Instructions by Brand
- Premo Sculpey: Bake at 275 °F (130 °C) for 30 minutes per 1/4 in (6 mm) thickness.
- Sculpey Souffle: Bake at 275 °F (130 °C) for 30 minutes per 1/4 in (6 mm) thickness.
- Fimo Professional: Bake at 230 °F (110 °C) for 30 minutes per 1/4 in (6 mm) thickness.
- Kato Polyclay: Bake at 300 °F (150 °C) for 30 minutes per 1/4 in (6 mm) thickness.
How to Bake Special Shapes
Baking flat pieces is easy enough, but other shapes require different preparation.
How to bake polymer clay rings
Depending on the shape of the rings, you may be able to bake them flat on a sheet tray. Or, you may need to support them with an aluminum foil armature to avoid slumping.
If you are baking a polymer clay piece attached to a metal ring blank, you can slide the ring part into a small slot cut into an upside-down disposable aluminum baking pan.
How to bake polymer clay beads
You can bake beads on a shallow layer of baking soda inside a baking dish.
Or, fold a piece of paper accordion-style, and place the beads in the valleys of the folds to keep them from rolling around in the oven.
If you make a lot of beads, consider investing in a bead rack. The bead rack suspends the bead on a metal bead pin, so you don’t get flat spots.
How to bake polymer clay charms
Depending on the shape of the charms, you can bake them on a flat surface, on a bead rack, or nestled into a shallow layer of baking soda.
How to bake polymer clay onto glass
If you wrap a sheet of polymer clay around a glass container completely, it will create a mechanical hold as it bakes.
You can add a layer of liquid clay to the glass before wrapping it with the polymer clay for extra hold, but it’s not strictly necessary.
Be careful to cool the glass object slowly to avoid cracking.

FAQ and Troubleshooting
Help! My clay is burned.
Polymer clay can burn if exposed to temperatures above 350 degrees F.
Burned clay is no fun. It smells pretty bad, and unfortunately, can’t be salvaged. If you’ve burned your project, turn off the oven and turn on the fan (or open the windows). Leave the room until the fumes have aired out.
To prevent burning your piece next time, be sure to check your oven temperature with an oven thermometer. For extra insurance, set a timer, so you don’t forget about your project in the oven.
My clay looks brown or toasted.
Sometimes polymer clay – especially translucent clay – can discolor if exposed to high temperatures. Here are a few ways to protect against browning:
- Keep a pizza stone or large ceramic tile on the bottom rack of the oven. The pizza stone acts as a heat sink and helps regulate the oven’s temperature as the heating elements cycle on and off.
- Cover the pieces with a sheet of tented aluminum foil or an upside-down baking pan. Or, bake the pieces inside a large covered roasting pan. The lid protects your pieces from getting scorched by the intense heat of the oven’s heating elements.
- If your pieces are small, bury them in a layer of baking soda. (This technique is excellent for beads!)
My clay is brittle after baking.
Clay that is brittle or breaks after baking is almost always caused by undertaking. If your pieces crumble, crack, or snap after baking – you probably didn’t bake them for long enough.
Even though underbaked clay looks normal, it can snap when you try to bend it.
Bake the pieces again at the recommended temperature for at least the recommended amount of time. For the best results, I suggest baking the pieces for a minimum of 30 minutes per 1/4″ of thickness.
My clay has shiny spots.
If you bake polymer clay on a shiny surface, there may be shiny spots on the clay after baking. To prevent this, put a piece of parchment paper between the clay and the shiny baking surface. The layer of paper should prevent the shiny spots on the bottom of the clay.
More Polymer Clay Tutorials
If you enjoy creating with polymer clay, you may be interested in these related articles:
- How to Make Polymer Clay Earrings
- Best Polymer Clay for Earrings and Jewelry
- 21 Polymer Clay Ideas and Projects
Have questions? Join the Facebook Group!
We hope this article was useful for you! If you have any additional questions, feel free to join my Facebook Group. We created this group for you to share pictures, ask questions, and help each other out.

What’s Next?
Pin this post: Save this tutorial to your Pinterest boards so that you can come back to it later.
Leave a comment: We love to hear your feedback. Tell me in the comments below!
Share on Instagram or Facebook: When you make this project, share it on social media and tag me @sarahmaker_. We love to see what you make!

How to Bake Polymer Clay for the Best Results
How to bake polymer clay projects to ensure good results every time.
Materials
- polymer clay
- parchment paper
- aluminum foil
Tools
- flat baking sheet
- oven thermometer
Instructions
- Read the package direction to find out what temperature and time your brand recommends. Place the oven thermometer onto the center rack of the oven, and preheat your oven to the correct temperature.
- Check your oven temperature on the oven thermometer. If you find your oven is too hot or too cold, adjust the temperature. Wait again for the oven to preheat.
- Prepare your project for baking. Line a flat baking sheet with parchment paper. Carefully place your project onto the parchment paper. Cover the clay with a tented piece of aluminum foil (or cover it with an upside-down baking pan).
- Bake your clay at the recommended temperature for at least the recommended amount of time. In general, you can bake polymer clay at 275F for about 30 minutes per 1/4 inch of thickness.
Important: Always refer to the package instructions for brand-specific directions.


Similar Posts
21 Polymer Clay Ideas and Projects
Best Polymer Clay for Earrings and Jewelry
How to Make Polymer Clay Earrings