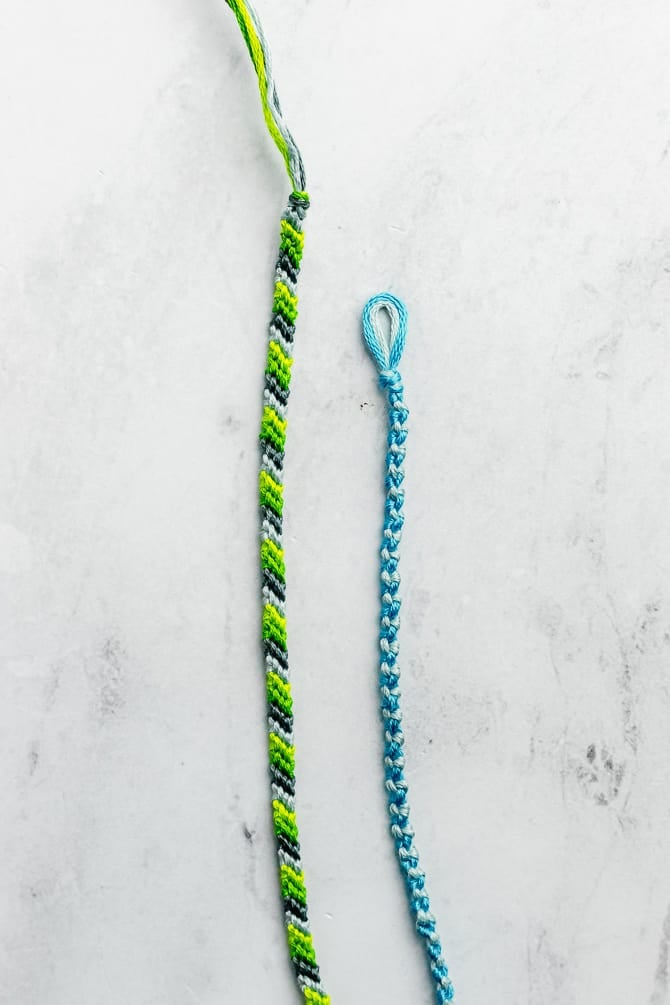
The Candy Stripe friendship bracelet is a great pattern for beginners because it’s easy to learn and only requires one type of knot. You’ll be able to memorize the pattern in no time at all! Keep reading to learn how to make your very own bracelet!

Making a Candy Stripe Friendship bracelet is very simple, but the finished bracelet looks amazing! In fact, the first friendship bracelet I ever made was a Candy Stripe pattern.
If you’re new to making friendship bracelets, I recommend reading my post How to Make Friendship Bracelets and How to Tie the 4 Basic Friendship Bracelet Knots before you start this Candy Stripe tutorial.

Materials
You don’t need a lot of supplies to make friendship bracelets – just some embroidery floss and a few everyday tools.
- embroidery floss in a variety of colors
- a safety pin, clipboard or masking tape
- a pair of scissors
- a ruler or measuring tape
Pattern
Here is the written pattern for the diagonal stripe friendship bracelet. For more info, check out How to Read Friendship Bracelet Patterns.
Choose your colors and prepare your strings.
In this example, I’ve used 4 strings. But you can use any number of strings you like. 4 strings will give you a narrow bracelet and be faster to make. 8 strings will give you a wider bracelet, but take longer to make.
If you want inspiration for color combos, check out Friendship Bracelet Color Ideas and Combinations.
Cut each string to be about 36″ long. Tie them together with an overhand knot. Use masking tape or a clipboard to secure the strings while you make the bracelet.
Separate and arrange your strings. To make understanding this pattern easier, let’s label the strings A-D from left to right.
In my pictures, A is light blue, B is light green, C is dark green, D is dark blue.

Candy Stripe Bracelet Pattern
Let’s talk through the first row in detail.
Row 1
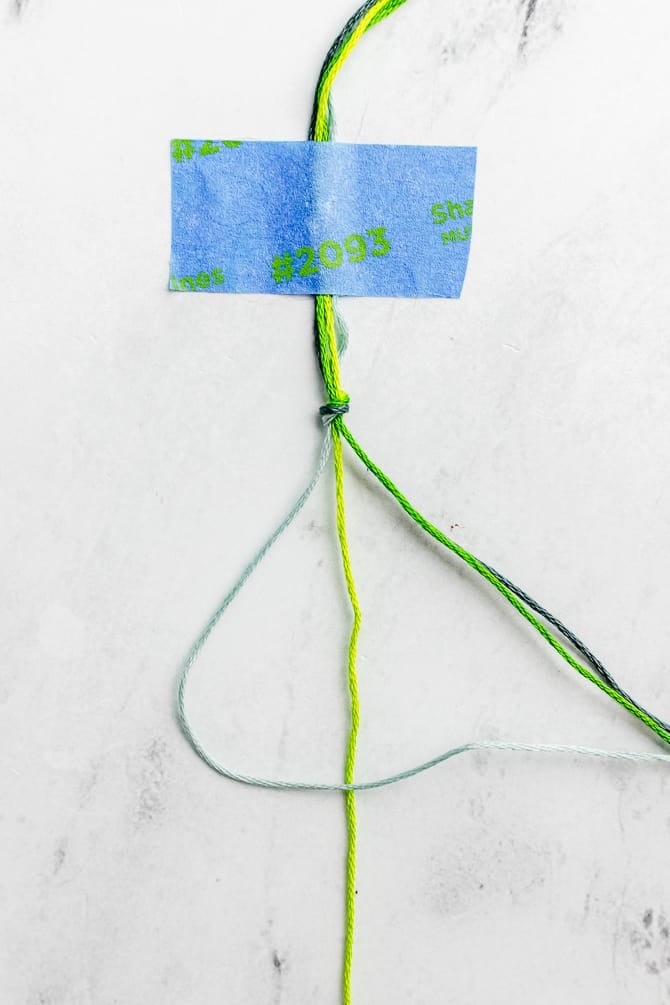
Step 1: Take string A and make a forward knot on string B. After you complete the knot, string A will move one position to the right. The new order will be BACD.
Remember: Forward knots are made by tying two forward half-hitches. Make a “4” shape with the working string over the second string, and pull up through the hole. For more photos and diagrams, check out this article about how to make friendship bracelet knots.

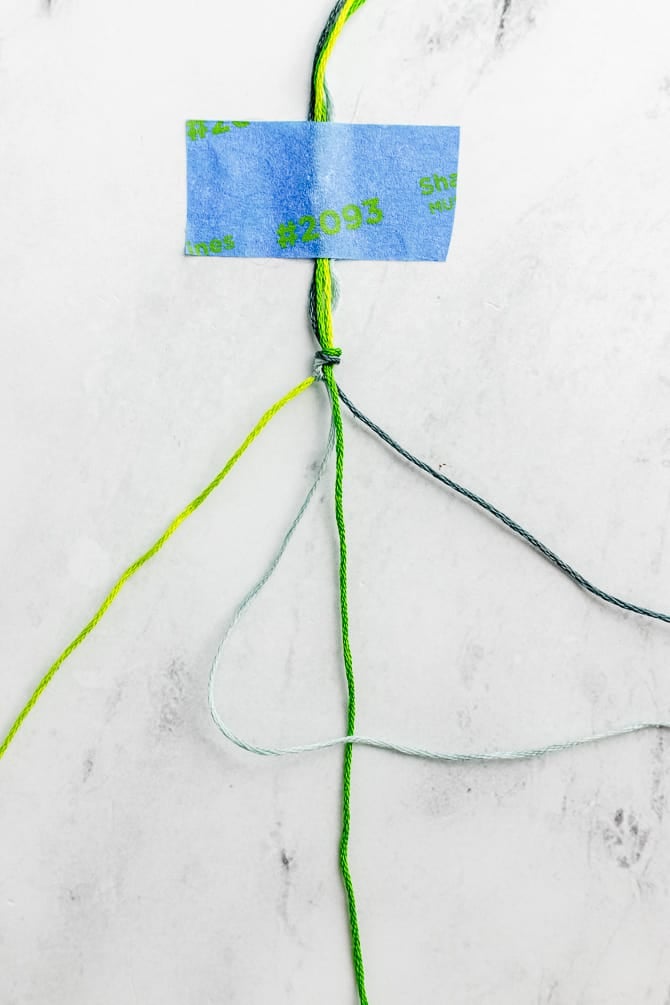
Step 2: Continuing with string A, and make a forward knot on string C. After you complete the knot, string A will move one position to the right. The new order will be BCAD.

Step 3: Continuing with string A, and make a forward knot on string D. After you complete the knot, string A will move one position to the right. The new order will be BCDA.
Well done! You’ve complete the first row of the Candy Stripe Pattern.
Row 2 and Beyond
Repeat the same process with the B strand, which is now the left-most string. (In this example, string B is light green.) Following the pattern, tie forward knots on each strand of the bracelet — first C, then D, then A. At the end of this row, the B string will be on the right-hand side.
Then repeat with string C and string D.
Continue the pattern until the bracelet is as long as desired, about 7″.

Troubleshooting
Does your bracelet keep curling?
The Candy Stripe pattern has a tendency to curl because all the knots are tied in the same direction.
There are a couple of things that could be happening. First, make sure you are making TWO half-hitches to make each of the forward knots. If you forget this, the bracelet might curl up. To fix it, remember to make two half-hitches to complete each of the forward knots.
Otherwise, it could be that your tension is too tight. You can try making the knots a little bit looser.
Explore more Friendship Bracelet Ideas
If you like making friendship bracelets, here are some more articles and free patterns to check out.
- Easy Friendship Bracelet Patterns for Beginners
- How to Make a Diamond Friendship Bracelet Pattern
- How to Make a Chevron Friendship Bracelet
- How to Start and End Friendship Bracelets for A Finished Look
What’s Next?
Pin this post: Save this tutorial to your Pinterest boards so that you can come back to it later.
Leave a comment: We love to hear your feedback. Tell me in the comments below!
Share on Instagram or Facebook: When you make this project, share it on social media and tag me @sarahmaker_. We love to see what you make!

Candy Stripe Friendship Bracelet
Learn how to make the Candy Stripe friendship pattern with this easy-to-memorize pattern. Make a bracelet with 4-8 strings. A perfect craft project for beginners.
Materials
- embroidery floss
Tools
- scissors
- masking tape
Instructions
- Cut each string to be about 36" long. Tie them together with an overhand knot. Use masking tape or a clipboard to secure the strings.
- Take string A and make a forward knot on string B.
- Use string A to make a forward knot on string C.
- Then, use string A to make a forward knot on string D. The new order of colors will be BCDA.
- Continue this pattern with each string in turn. Repeat the process until the bracelet is as long as you'd like.


Similar Posts
How to Make a Chevron Friendship Bracelet
How to Make a Diamond Friendship Bracelet Pattern
Friendship Bracelet Color Ideas and Combinations
How to Read Friendship Bracelet Patterns
How to Make Friendship Bracelets
How to Start and End Friendship Bracelets for A Finished Look