

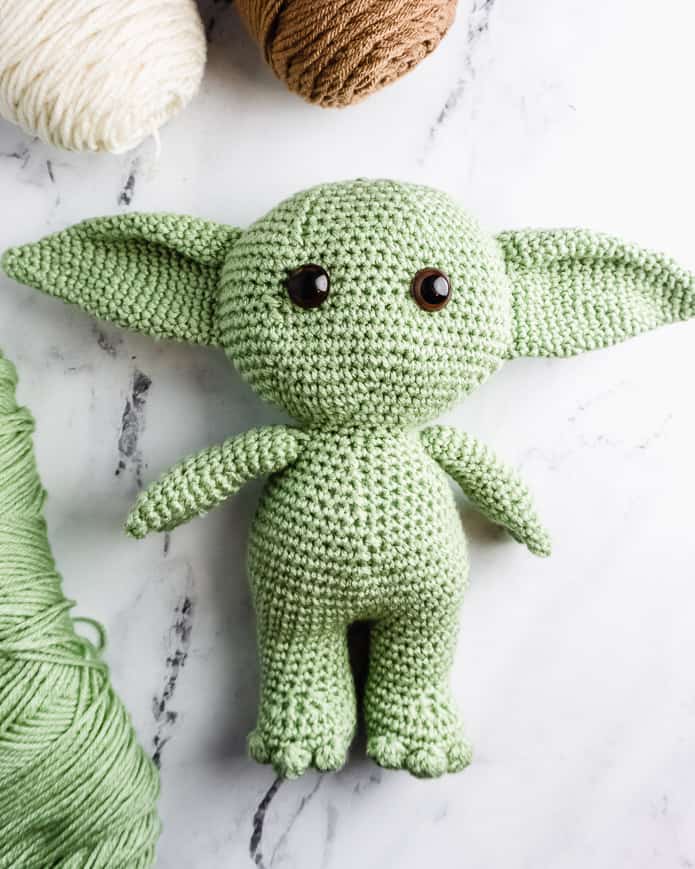
Here are a few crochet patterns to make a “baby yoda” crochet amigurumi pattern.

Adorable and mysterious, Baby Yoda is no doubt the best character in the new Star Wars show, The Mandalorian.
Even if you haven’t watched the show, you’ve likely seen a Baby Yoda meme or three on Instagram.
Would you like to crochet your own? In this post, you’ll find a list of our favorite Baby Yoda-inspired crochet patterns.
Supplies You’ll Need
Here are some of the supplies and tools that you’ll need to crochet a little green alien. Of course, you should always read the instructions of the particular pattern you choose for more details.
- Yarn: Some of the patterns use worsted-weight yarn, and some call for other yarn weights. If you’re going with worsted-weight yarn, try Red Heart Super Saver in the colors Frosty Green and Cafe Latte. The color “Buff” would also look good.
- Hook: If your pattern calls for worsted-weight yarn, you might need a crochet hook in Size G (4.0) or size H (5.0)
- Toy Stuffing: You’ll need some Poly-Fil or other toy stuffing to give shape to your amigurumi. The size and shape of the plush will also depend on how tightly you stuff it. I recommend stuffing the plush pretty firmly for the best shape.
- Safety Eyes. Some patterns will call for a pair of safety eyes. But remember, crochet fabric stretches, and even large safety eyes can be pulled out with heavy use. If you are making plush toys for a child, use an almond-shaped piece of black or dark brown felt instead!
- Tapestry Needle.
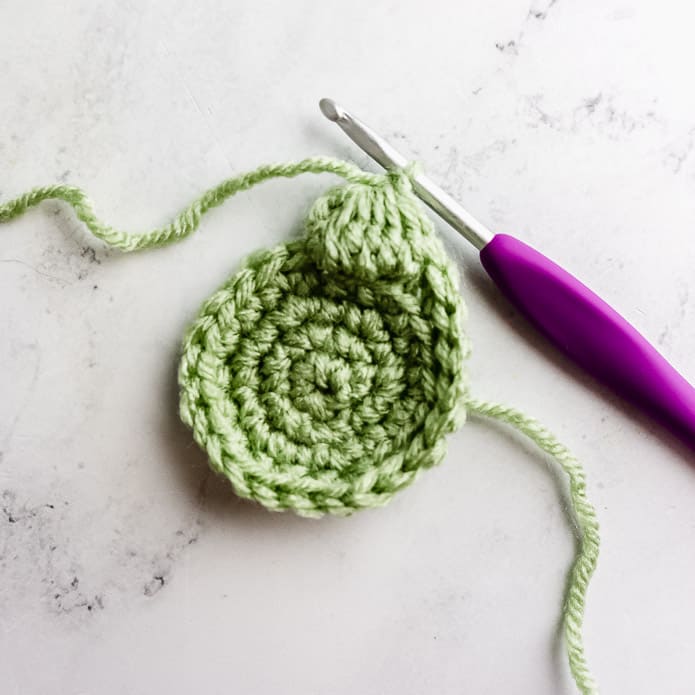
Crochet Techniques
Here are some other common amigurumi techniques that you’ll need to know to crochet these plushie patterns.
- Single Crochet Decrease (Sc2tog)
- Single Crochet (sc)
- Slip Stitch (sl st)
- Invisible Decrease (Sc2tog): Insert the hook in front loop only of first st, insert hook in front loop only of second st (3 loops on hook), yo and draw through 2 loops, yo and complete sc as normal.
Baby Yoda Crochet Patterns
Here is a collection of our favorite baby yoda crochet patterns.

Here's a super cute pattern for a brown bear cub pattern - but don't worry - it also comes with the optional rabbit ears. Even if this is your first time making an amigurumi doll, this pattern will be very easy to follow!

If you're looking for a mini version, check out this free Baby Yoda Amigurumi pattern.

Two are better than one! This adorable pattern contains easy instructions along with pictures on how to make your own Bounty Hunter and Mini Baby Alien amigurumi.

Maybe you'd like to crochet a Yoda-inspired outfit, instead. In that case, check out this pattern bundle that features a hat, diaper cover, and saber. The diaper cover is newborn size only, but the pattern includes two hat sizes: newborn and 0-3 months.

Want a Grogu-inspired hat for yourself? Try this cute hooded scarf pattern, complete with alien ears.

Here's a super quick pattern that you can use to make Baby Yoda holiday decorations. It's worked in rows, not rounds, so it's great for beginners.


More Crochet Patterns
For more information about crochet, including beginner crochet tutorials and beginner crochet projects, be sure to check out the following articles.


Similar Posts
How to Slip Stitch in Crochet (sl st) for Beginners
25+ Free & Easy Crochet Patterns for Beginners
How to Crochet a Flower – Free Pattern
25 Free Crochet Bandana Patterns for All Skill Levels
Easy Crochet Hair Scrunchie – A Free Beginner Pattern
30+ Free Tapestry Crochet Patterns